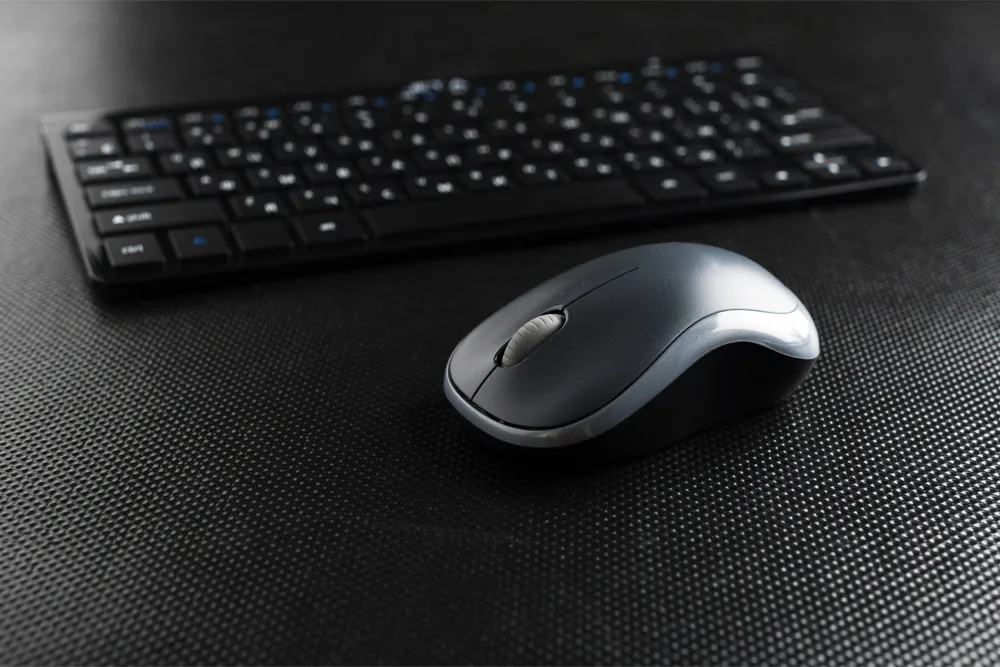
As someone who spends countless hours on a computer, I can tell you: that a clean mouse and keyboard are important for a happy workspace. These two can accumulate dirt, dust, and grime, but with a few clever tricks, you can whip them back into shape in no time. In this guide, I’ll share my go-to methods for cleaning and maintaining your mouse and keyboard, ensuring they stay sparkling like new!
Why It’s Important to Keep Your Mouse and Keyboard Clean
Before the cleaning process, it’s crucial to understand why maintaining a clean mouse and keyboard is so important.
Here are a few compelling reasons:
- Improved Performance: Dirt and debris can accumulate under the keys or within the mouse’s crevices, causing sticky keys, unresponsive scrolling, or erratic cursor movements.
- Hygiene and Health: Our hands come into direct contact with these devices, transferring oils, sweat, and potentially harmful microbes. A clean mouse and keyboard help maintain a hygienic workspace and reduce the risk of illness.
- Extended Lifespan: Neglecting to clean your devices can lead to premature wear and tear. Proper maintenance saves you money in the long run.
Common Tools and Materials Needed for Cleaning
Before the cleaning process, gather these tools and materials.
Here’s a list:
- Microfiber cloths or lint-free wipes
- Compressed air (for keyboards)
- Isopropyl alcohol (optional, for tougher stains)
- Cotton swabs (for hard-to-reach areas)
- Small, soft-bristled brush (for cleaning crevices)
- Mild soap or detergent (for cleaning mouse surfaces)
- Disinfecting wipes (optional, for added sanitization)
Step-by-Step Guide (Mouse)
Follow these steps for a spotless and well-functioning device:
- Unplug or Turn Off the Mouse: First things first, disconnect or power down your mouse. We don’t want it accidentally signing you up for a newsletter you didn’t ask for!
- Wipe Down the Surface: Grab a microfiber cloth or lint-free wipe, and give that mouse a good rubdown, including the buttons and scroll wheel. For stubborn mouse stains, wet the cloth with a mild soap solution or some isopropyl alcohol, think of it as a spa day for your gadget!
- Clean the Crevices and Scroll Wheel: Time to tackle the nooks and crannies! Use a soft-bristled brush to dislodge any dirt or debris lurking around the scroll wheel. Be gentle, this isn’t a wrestling match, and we want to avoid any accidental breakage!
- Disinfect (Optional): If your mouse has been on a shared journey, consider giving it a little love with disinfecting wipes. It’s like a germ-fighting superhero move!
- Allow to Dry Completely: Before reconnecting or turning on your mouse, make sure it’s completely dry. We want it to be ready for action, not throwing a tantrum due to moisture!
Step-by-Step Guide (Keyboard)
Cleaning your keyboard requires a slightly different approach due to its intricate design and numerous keys. Follow these steps:
- Unplug or Turn Off the Keyboard: Just like with the mouse, make sure to disconnect or power down your keyboard before diving in. We don’t want it trying to pull a fast one on you with random keystrokes!
- Use Compressed Air: Tilt that keyboard at an angle and blast it with some compressed air to evict any rogue crumbs or debris hiding between the keys. Just don’t hold the nozzle too close, this isn’t a high-pressure car wash, and we want to avoid damaging the keyboard’s delicate components!
- Wipe Down the Keycaps: Grab a microfiber cloth or lint-free wipe and give each keycap a gentle scrub, removing any visible dirt or grime. For those tough stains, dampen the cloth with a mild soap solution or some isopropyl alcohol, think of it as a mini spa treatment for your keys!
- Clean the Crevices: Time to tackle the stubborn stuff! Use a soft-bristled brush to dislodge any dirt or debris stubbornly wedged in the crevices between the keys or around the keyboard’s edges.
- Disinfect (Optional): If your keyboard has been a shared space (or a hotspot for snack crumbs), consider giving it a little love with disinfecting wipes. Because sharing is caring, but germs aren’t!
- Allow to Dry Completely: Before reconnecting or turning on your keyboard, ensure it’s completely dry. We want it to be ready for action, not sending you into a technological tailspin!
Remember, regular keyboard cleaning is essential—those crumbs and dust bunnies can turn your typing experience into a sticky nightmare over time!
Keep Your Devices Cleaner for Longer
While regular cleaning is essential, let’s chat about some clever ways to keep your mouse and keyboard cleaner for longer.
- Use a Keyboard Cover or Skin: Invest in a stylish keyboard cover or skin to shield your precious keys from dust, spills, and other nasties when you’re not typing away like a pro. Think of it as a fashionable raincoat for your keyboard!
- Establish a “No Food or Drink” Policy: Let’s face it, snacking while working is a slippery slope. Avoid eating or drinking around your workspace to minimize crumbs and spills that can turn your devices into mini disaster zones. Your keyboard will thank you!
- Wash Your Hands Regularly: Make handwashing your pre-keyboard ritual! Scrub those hands clean to remove dirt, oils, and residues before diving into your work. It’s like giving your devices a fighting chance against grime!
- Use a Mouse Pad: A high-quality mouse pad is more than just a pretty surface; it provides a smooth ride for your mouse while preventing dirt and debris from hitching a ride. It’s like giving your mouse a cozy little home!
- Store Devices Properly: When your mouse and keyboard are off duty, stash them in a clean, dry spot. This keeps dust and debris from making themselves at home on your tech. Think of it as a vacation for your peripherals, nice and tidy!


